Building An Application With Android Studio
In this tutorial we will build an Android application using Android Studio and the wizards it provides. After generating the code, we will run the application in the Android emulator. Finally we will modify the generated code and preview the changes.
You can use Android Studio to build your Vaandroid application. Android Studio is a free product provided by Google. It is based off the IntelliJ Integrated Development Environment (IDE).
Download Android Studio
Android Studio is an amazing software development environment for Android. It is based off of a customized version IntelliJ, and includes the Android Studio plugin along with a few Android-centric modifications. You can download it here. To get the next bleeding edge version, go here: Android Studio Preview
Install Android Studio
Follow your operating system's method to install Android Studio.
Launch Android Studio
Follow your operating system's method to launch Android Studio.
Welcome Screen
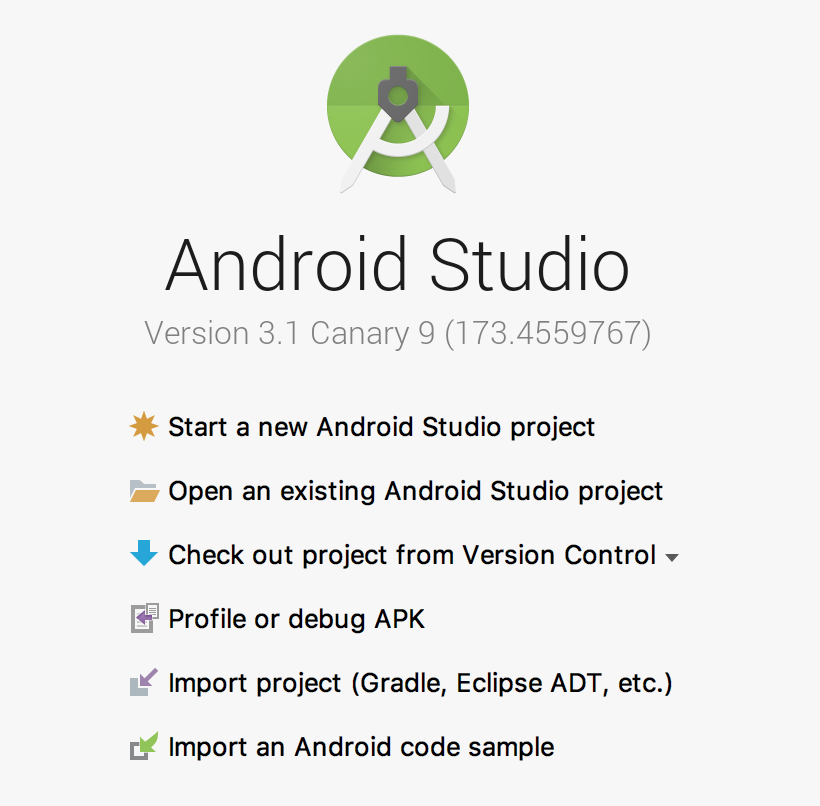
After launching Android Studio, a welome screen will appear.
Select Start a new Android Studio project.
Create Project
Enter your project name and company domain. Make sure to check Include Kotlin Support. You do not need to use the compatibility layer. To match this tutorial, set the following fields:
Application Name: My Vaandroid Application
Company Domain: test.twelvetone.tv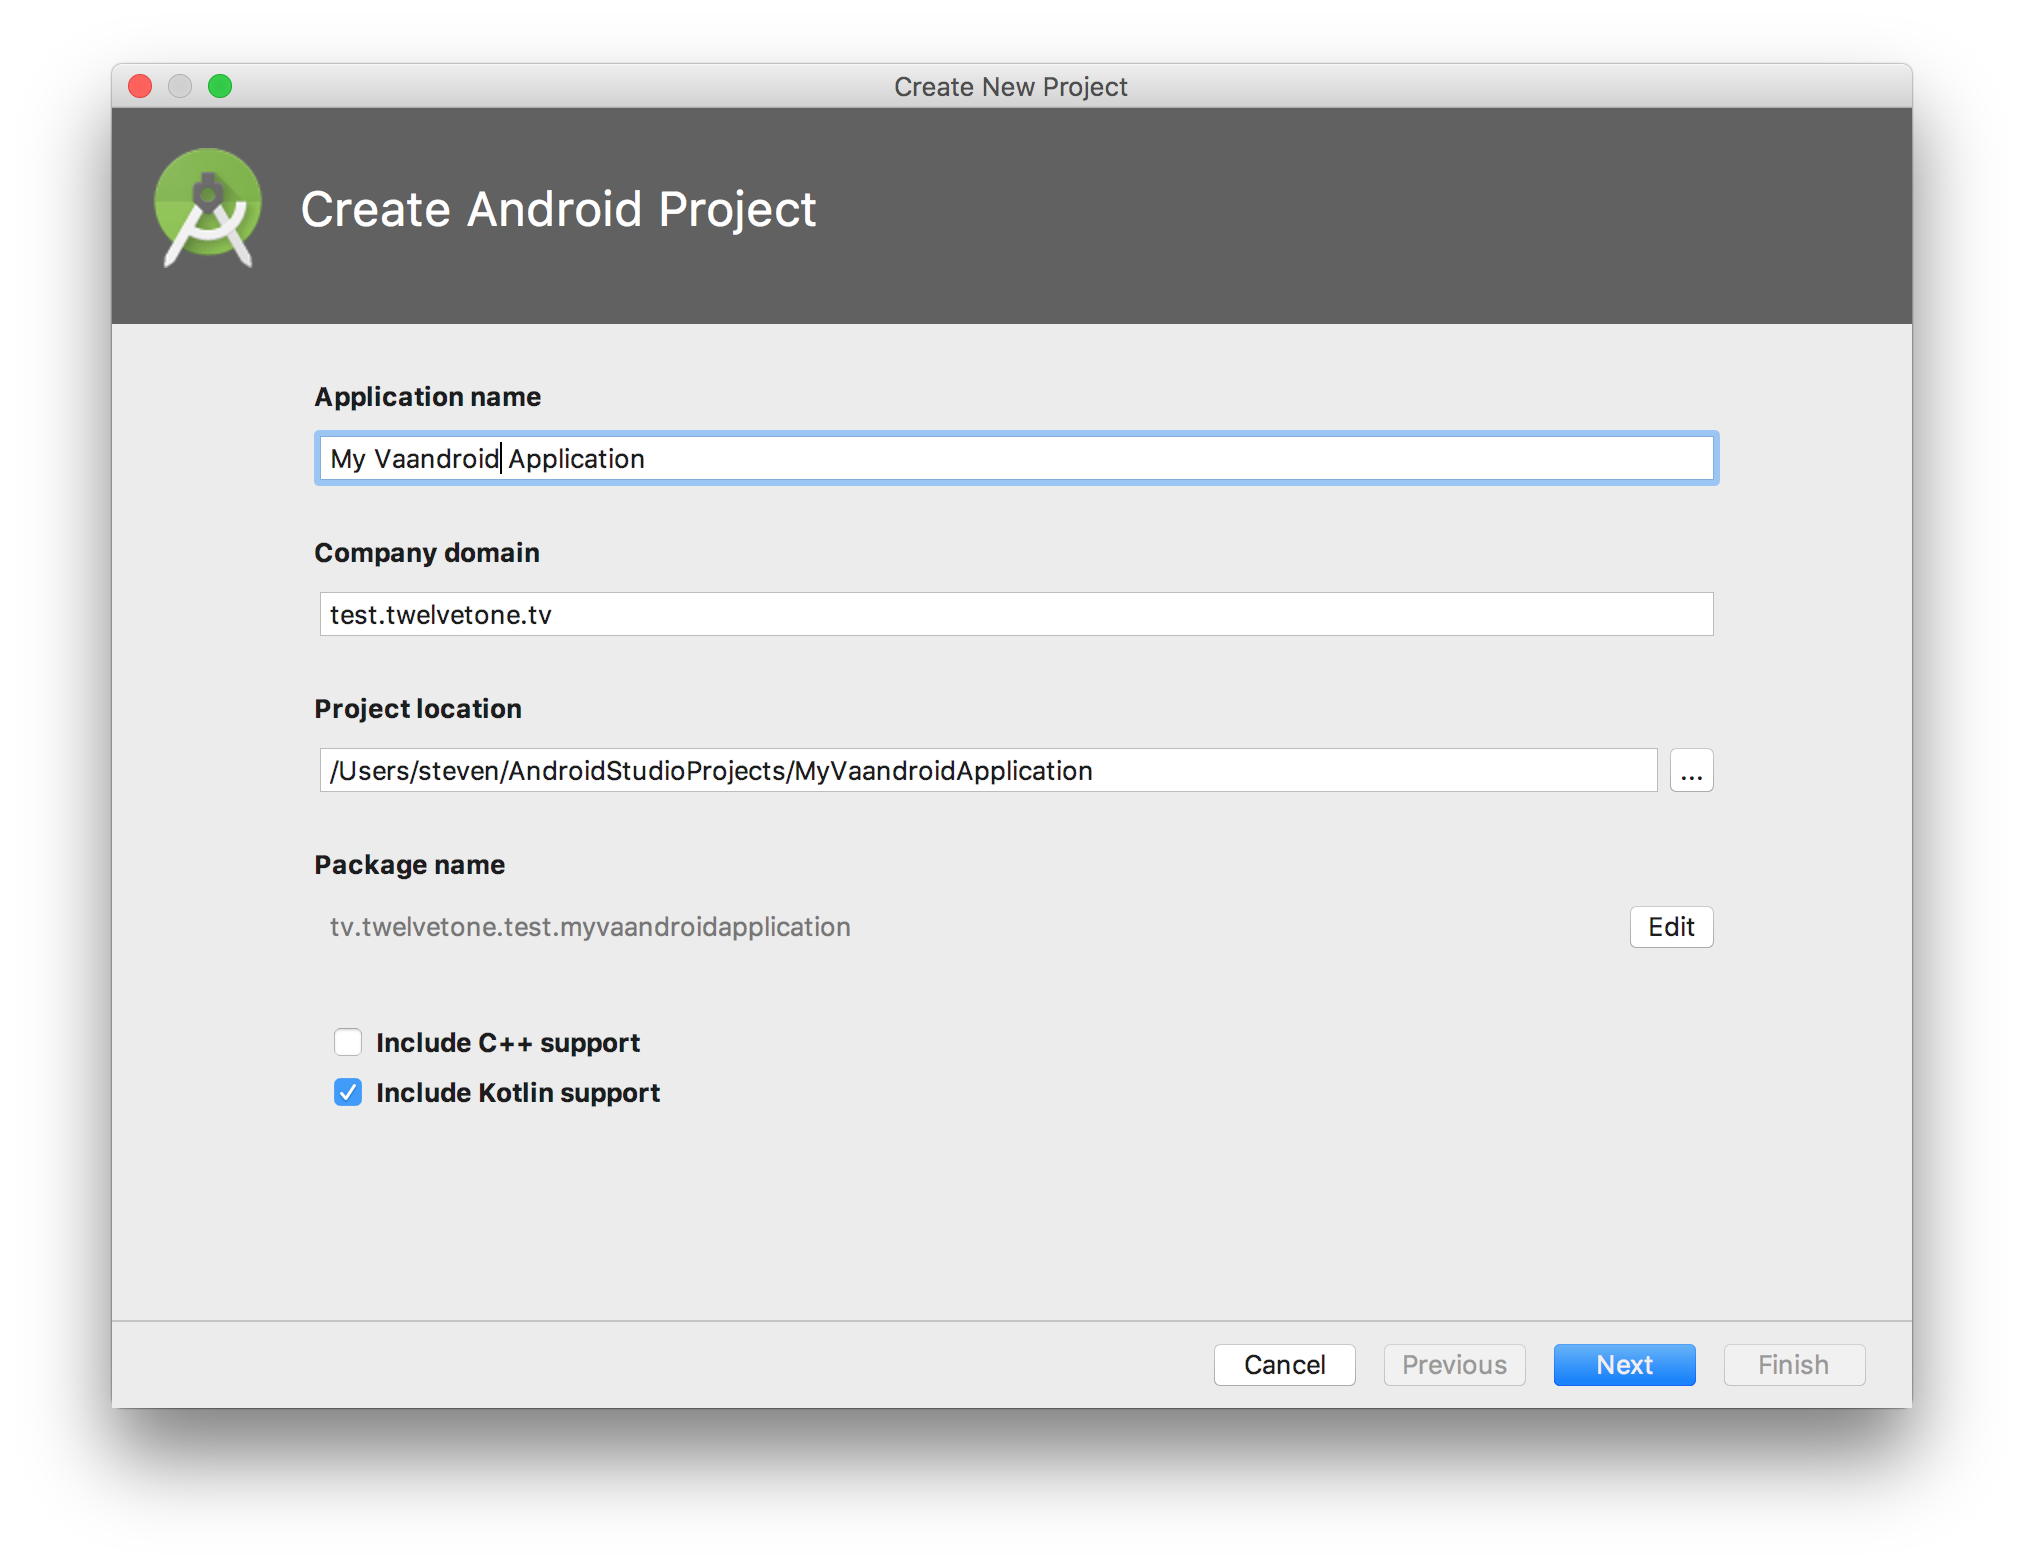
Select Target Type
Select the Phone and Tablet target type. Any API version will work.

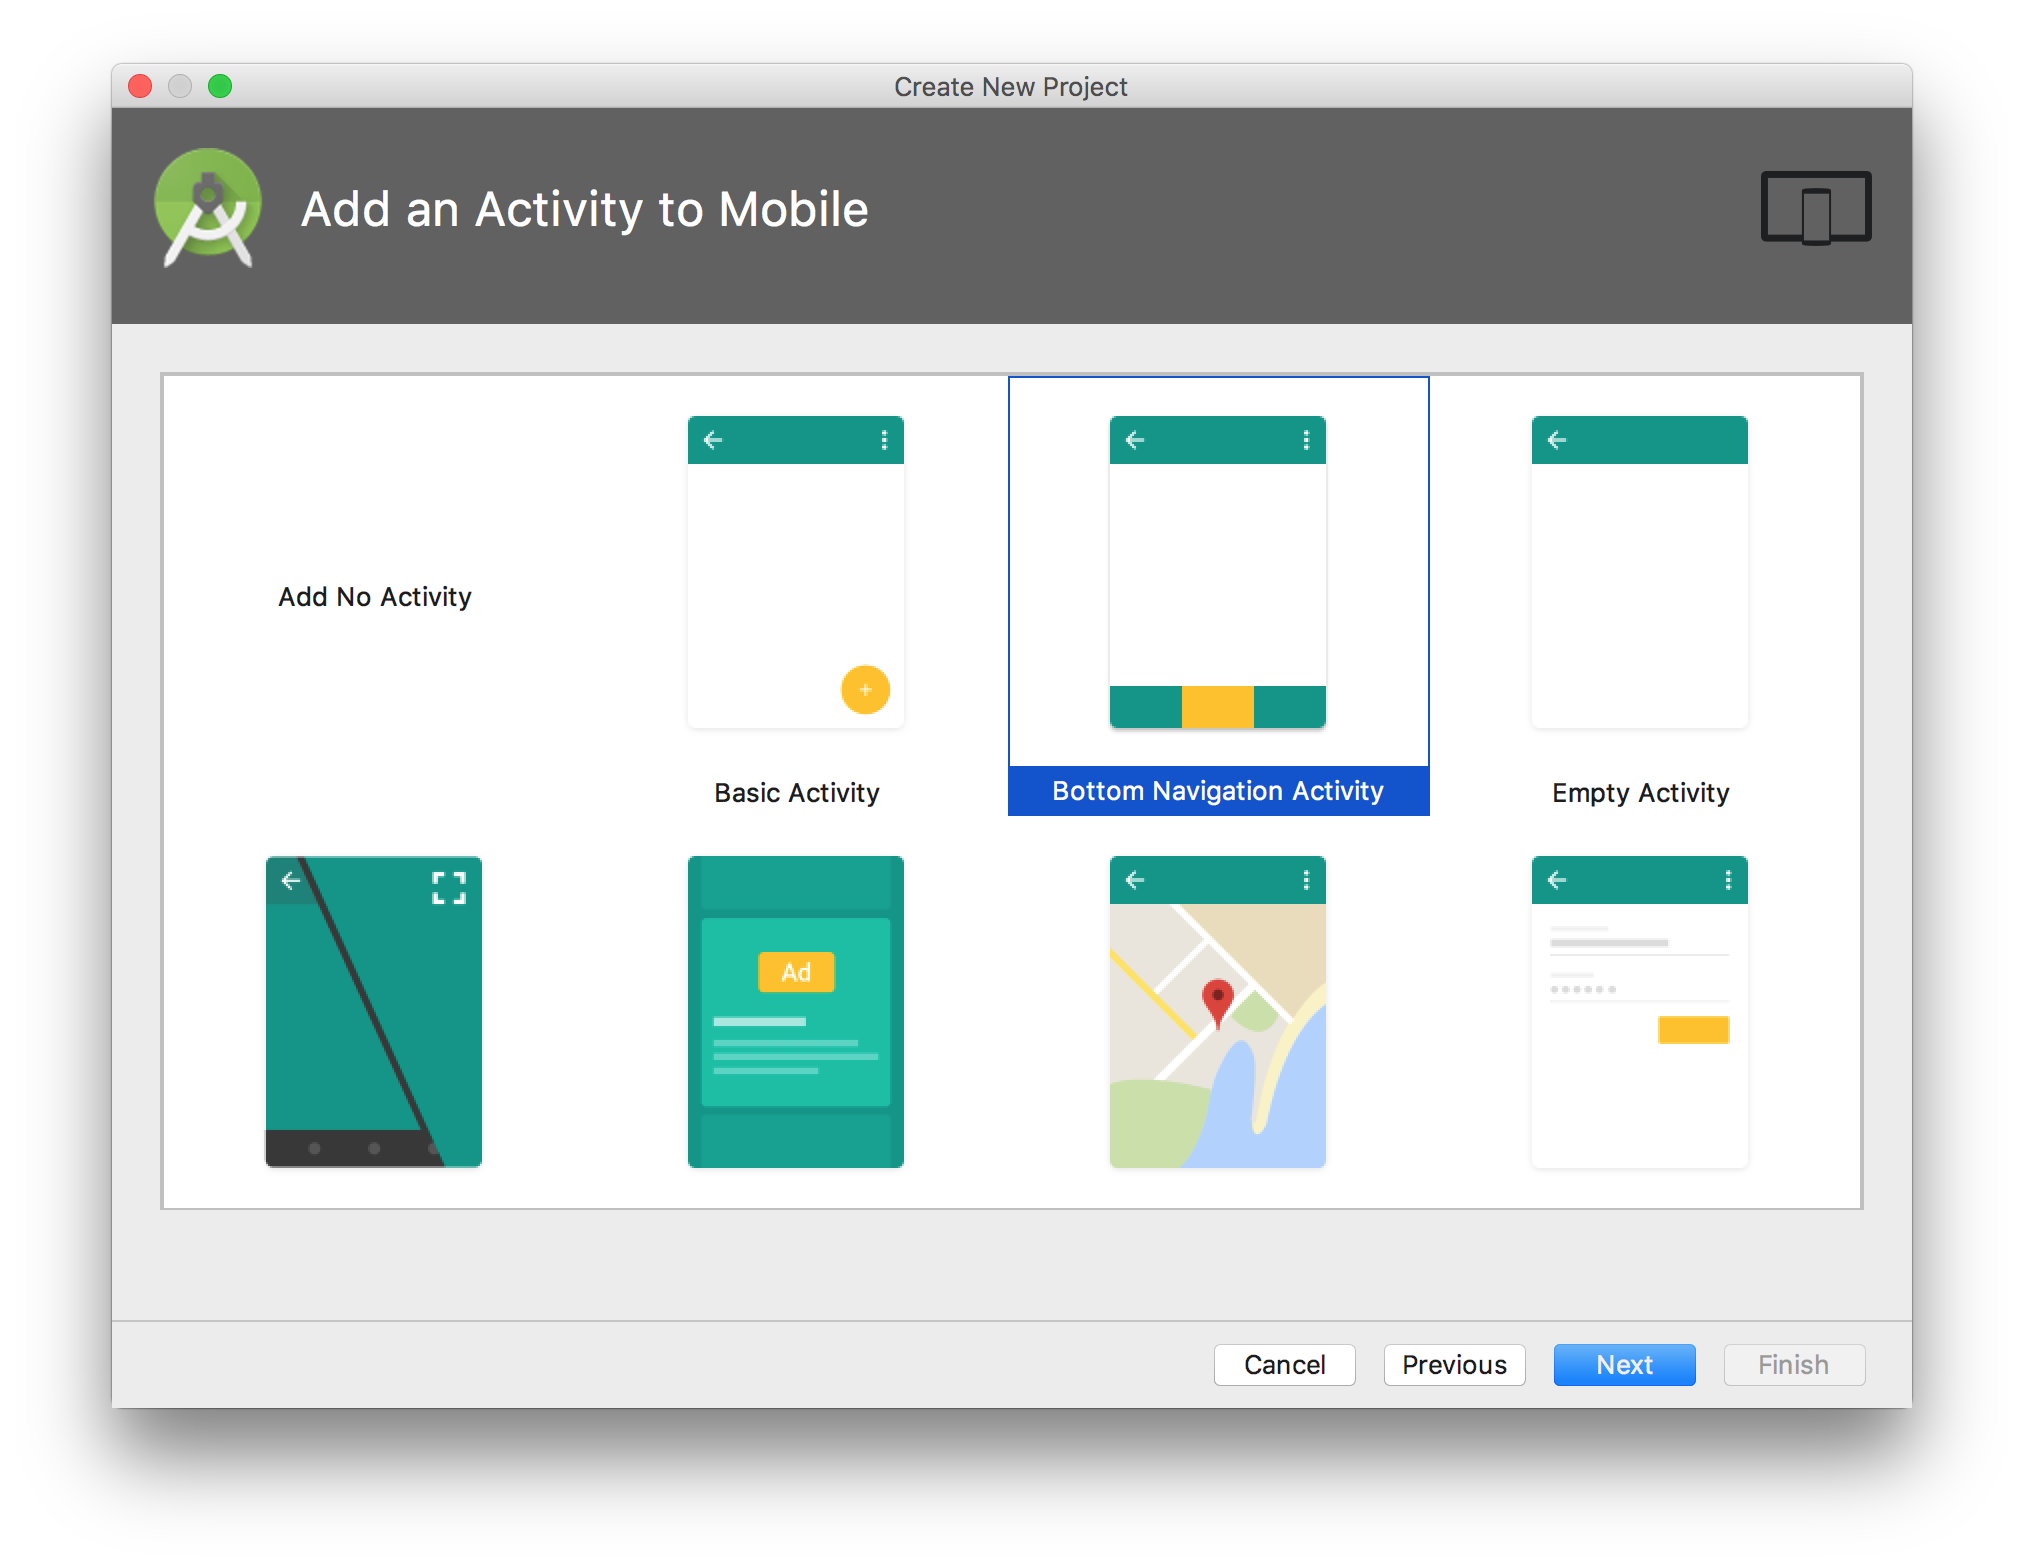
Add Activity To Mobile
Select the Bottom Navigation Activity. This will create a single activity with a Bottom Navigation Bar.
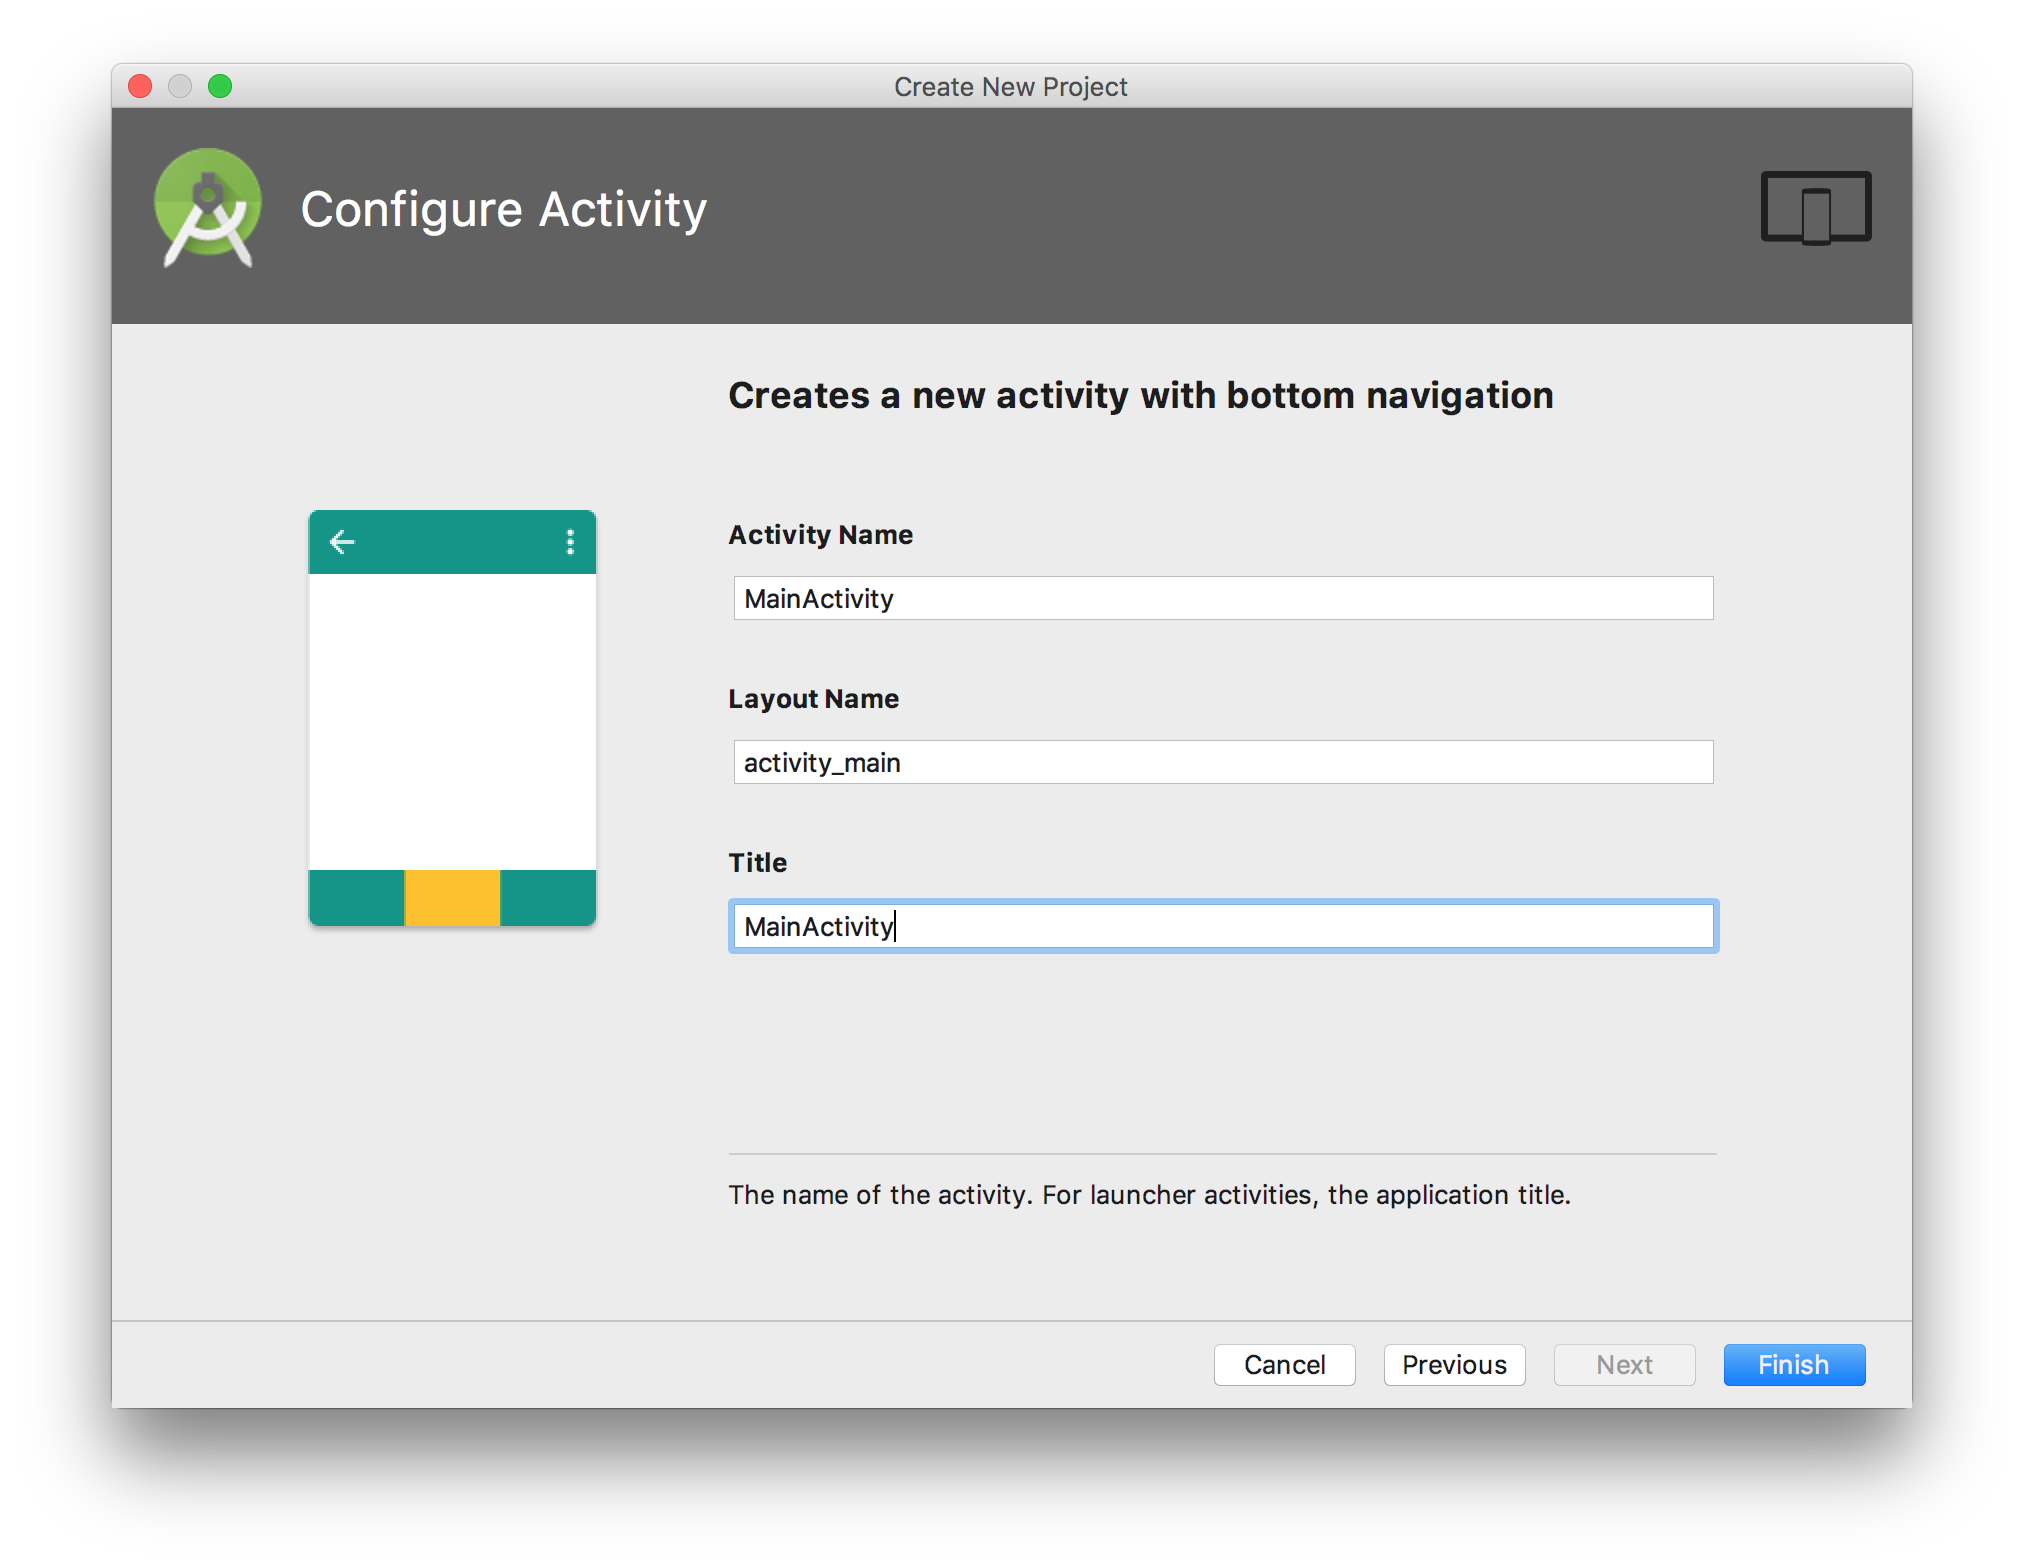
Configure Activity
Use the default values.
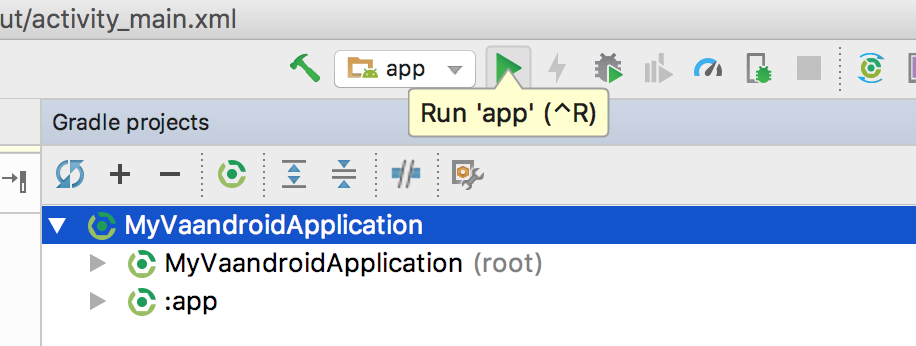
Launch The Application
After Android Studio loads the project, press the green Run icon in the toolbar to launch the emulator.
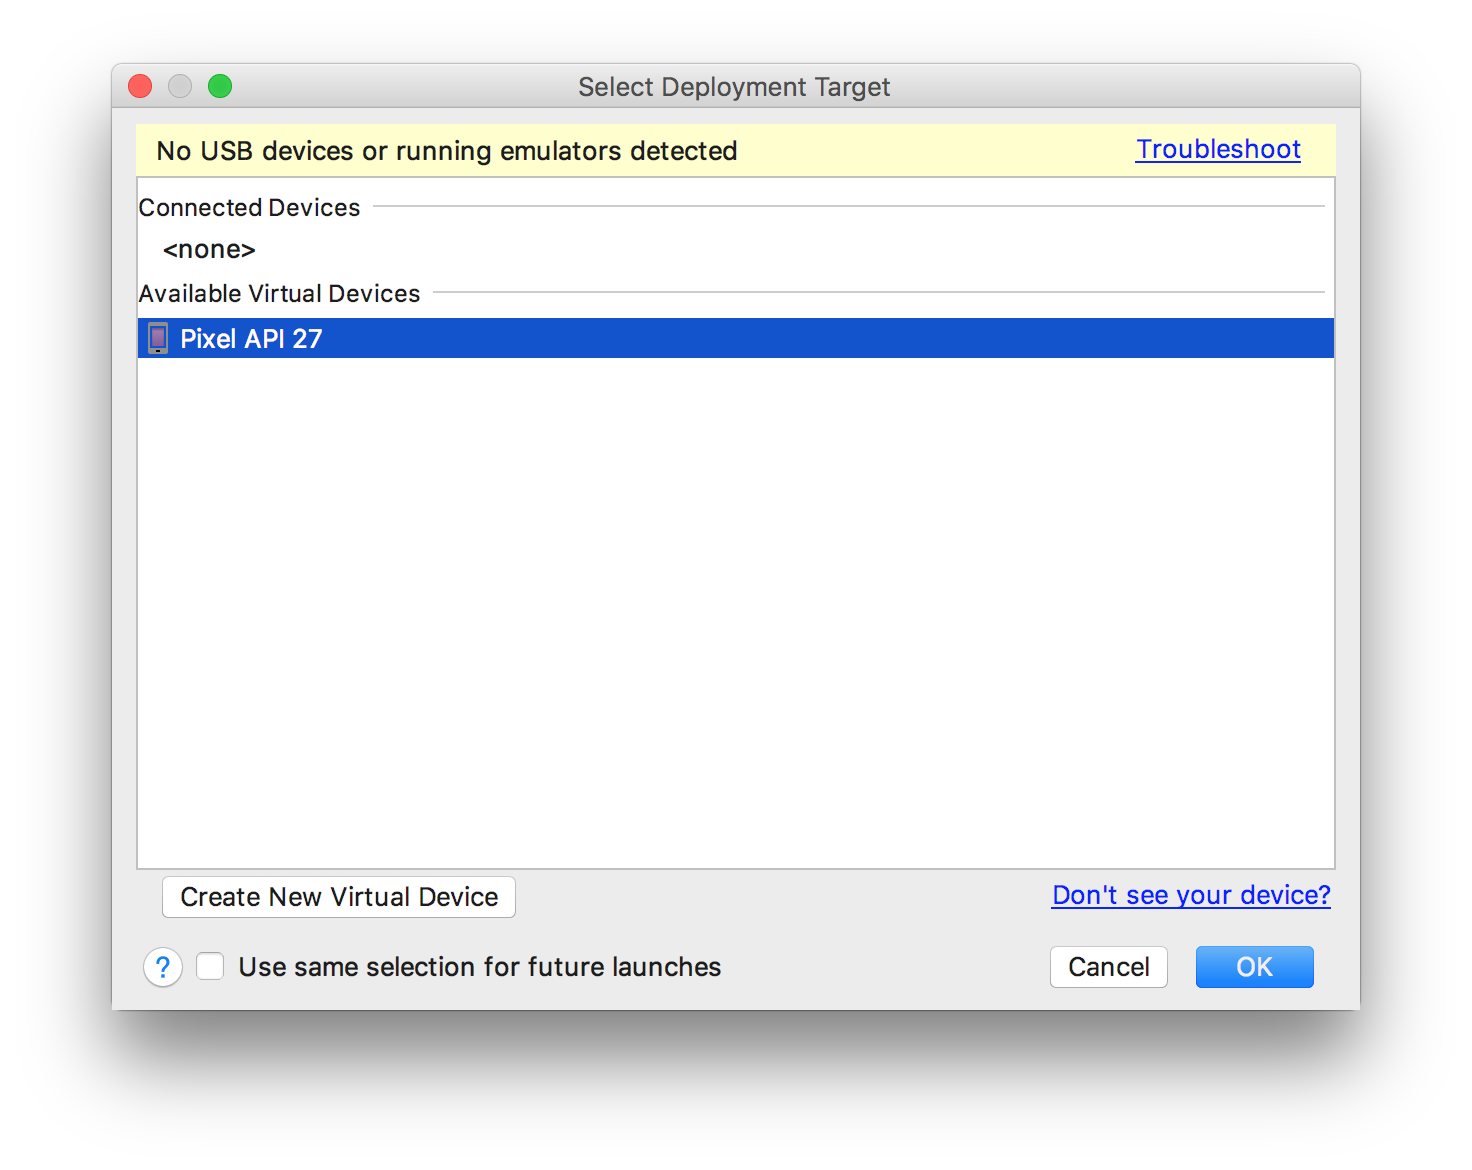
Then select your choice of emulator if prompted. We use the Pixel API 27 image.
You can configure Android Studio to skip this dialog.
You might need to download some large files the first time you run, so make sure you have a fast internet connection and a tasty beverage on hand.
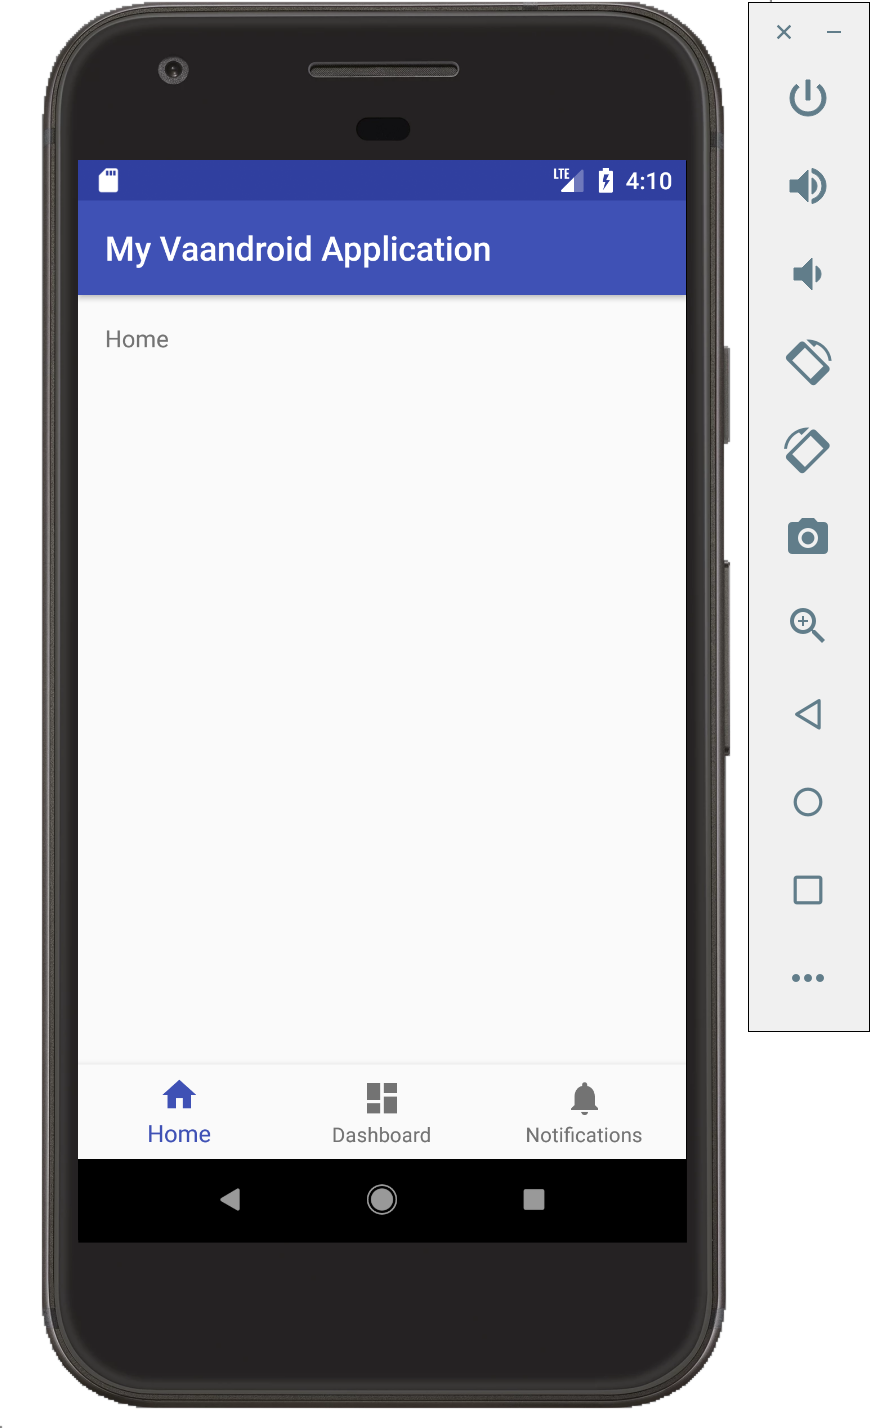
If everything works out, your emulator should open and your application should launch.
Update The Source Code
We are going to add an options menu with an About item.
res/menu/menu_main_activity.xml
<?xml version="1.0" encoding="utf-8"?>
<menu xmlns:android="http://schemas.android.com/apk/res/android"
    xmlns:app="http://schemas.android.com/apk/res-auto">

    <item
        android:id="@+id/action_about"
        android:title="About"
        app:showAsAction="never" />

</menu>
Add the following functions to MainActivity.java.
    override fun onCreateOptionsMenu(menu: Menu?): Boolean {
        menuInflater.inflate(R.menu.menu_main_activity, menu)
        return true
    }

    override fun onOptionsItemSelected(item: MenuItem): Boolean {
        // Handle action bar item clicks here. The action bar will
        // automatically handle clicks on the Home/Up button, so long
        // as you specify a parent activity in AndroidManifest.xml.
        val id = item.getItemId()

        if (id == R.id.action_about) {
            Toast.makeText(this, "You selected the 'About' action", Toast.LENGTH_SHORT).show()
            return true
        }

        return super.onOptionsItemSelected(item)
    }
Run the emulator again (the green run button) and try out the About item in the option menu. If all goes well, a toast notification should display.